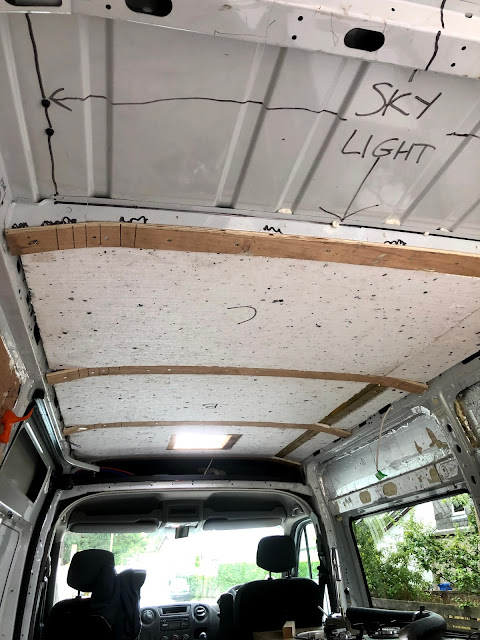
Today we started on fitting the Fiamma crystal skylight, going in at the front of the van next to the kitchen and shower to help extract cooking and shower vapour, and to get a bit of daylight to the front of the van
The position we chose meant the majority of the roof was flat, and had a lower drain recess next to it so there will never be standing water around the seal. There were the ends of a couple of stamped raised ribs in the section we cut out which we hammered flat with metalworking dollys rather than packing out the whole vent. Doing this however then created some extra tension in the metal around the cutout which distorted the hole so it was no longer flat. In order to correct this we used a metal shrinker tool to remove the tension and make the cutout totally flat again.


A wooden frame was mounted around the inside of the hole for the ceiling to attach to and the skylight to clamp into...

The insulation had to be recessed in places to allow it to sit tight into the roof and keep the ceiling flat.

The Vent was prepared with non setting mastic sealant tape and then installed.
Roof vent installed. (still need to clean the rest of the Roof)


The insulation was fitted first. We used 50mm polystyrene in this case as it has a bit more flex to it than Celotex and easily follows the curve of the ceiling.
The main ceiling structure is 5mm column plywood. The grain is laid up lengthways which makes it nice and strong, less likely to sag and it bends beautifully around the curvature of the ceiling.
We then carefully measured out the precise positioning for bespoke oak strips, and paint the gaps charcoal grey.


These bespoke oak strips are manufactured from a sheet of oak faced 8mm MDF cut into 95mm strips by our friend Chris who kindly loaned us his big table saw.

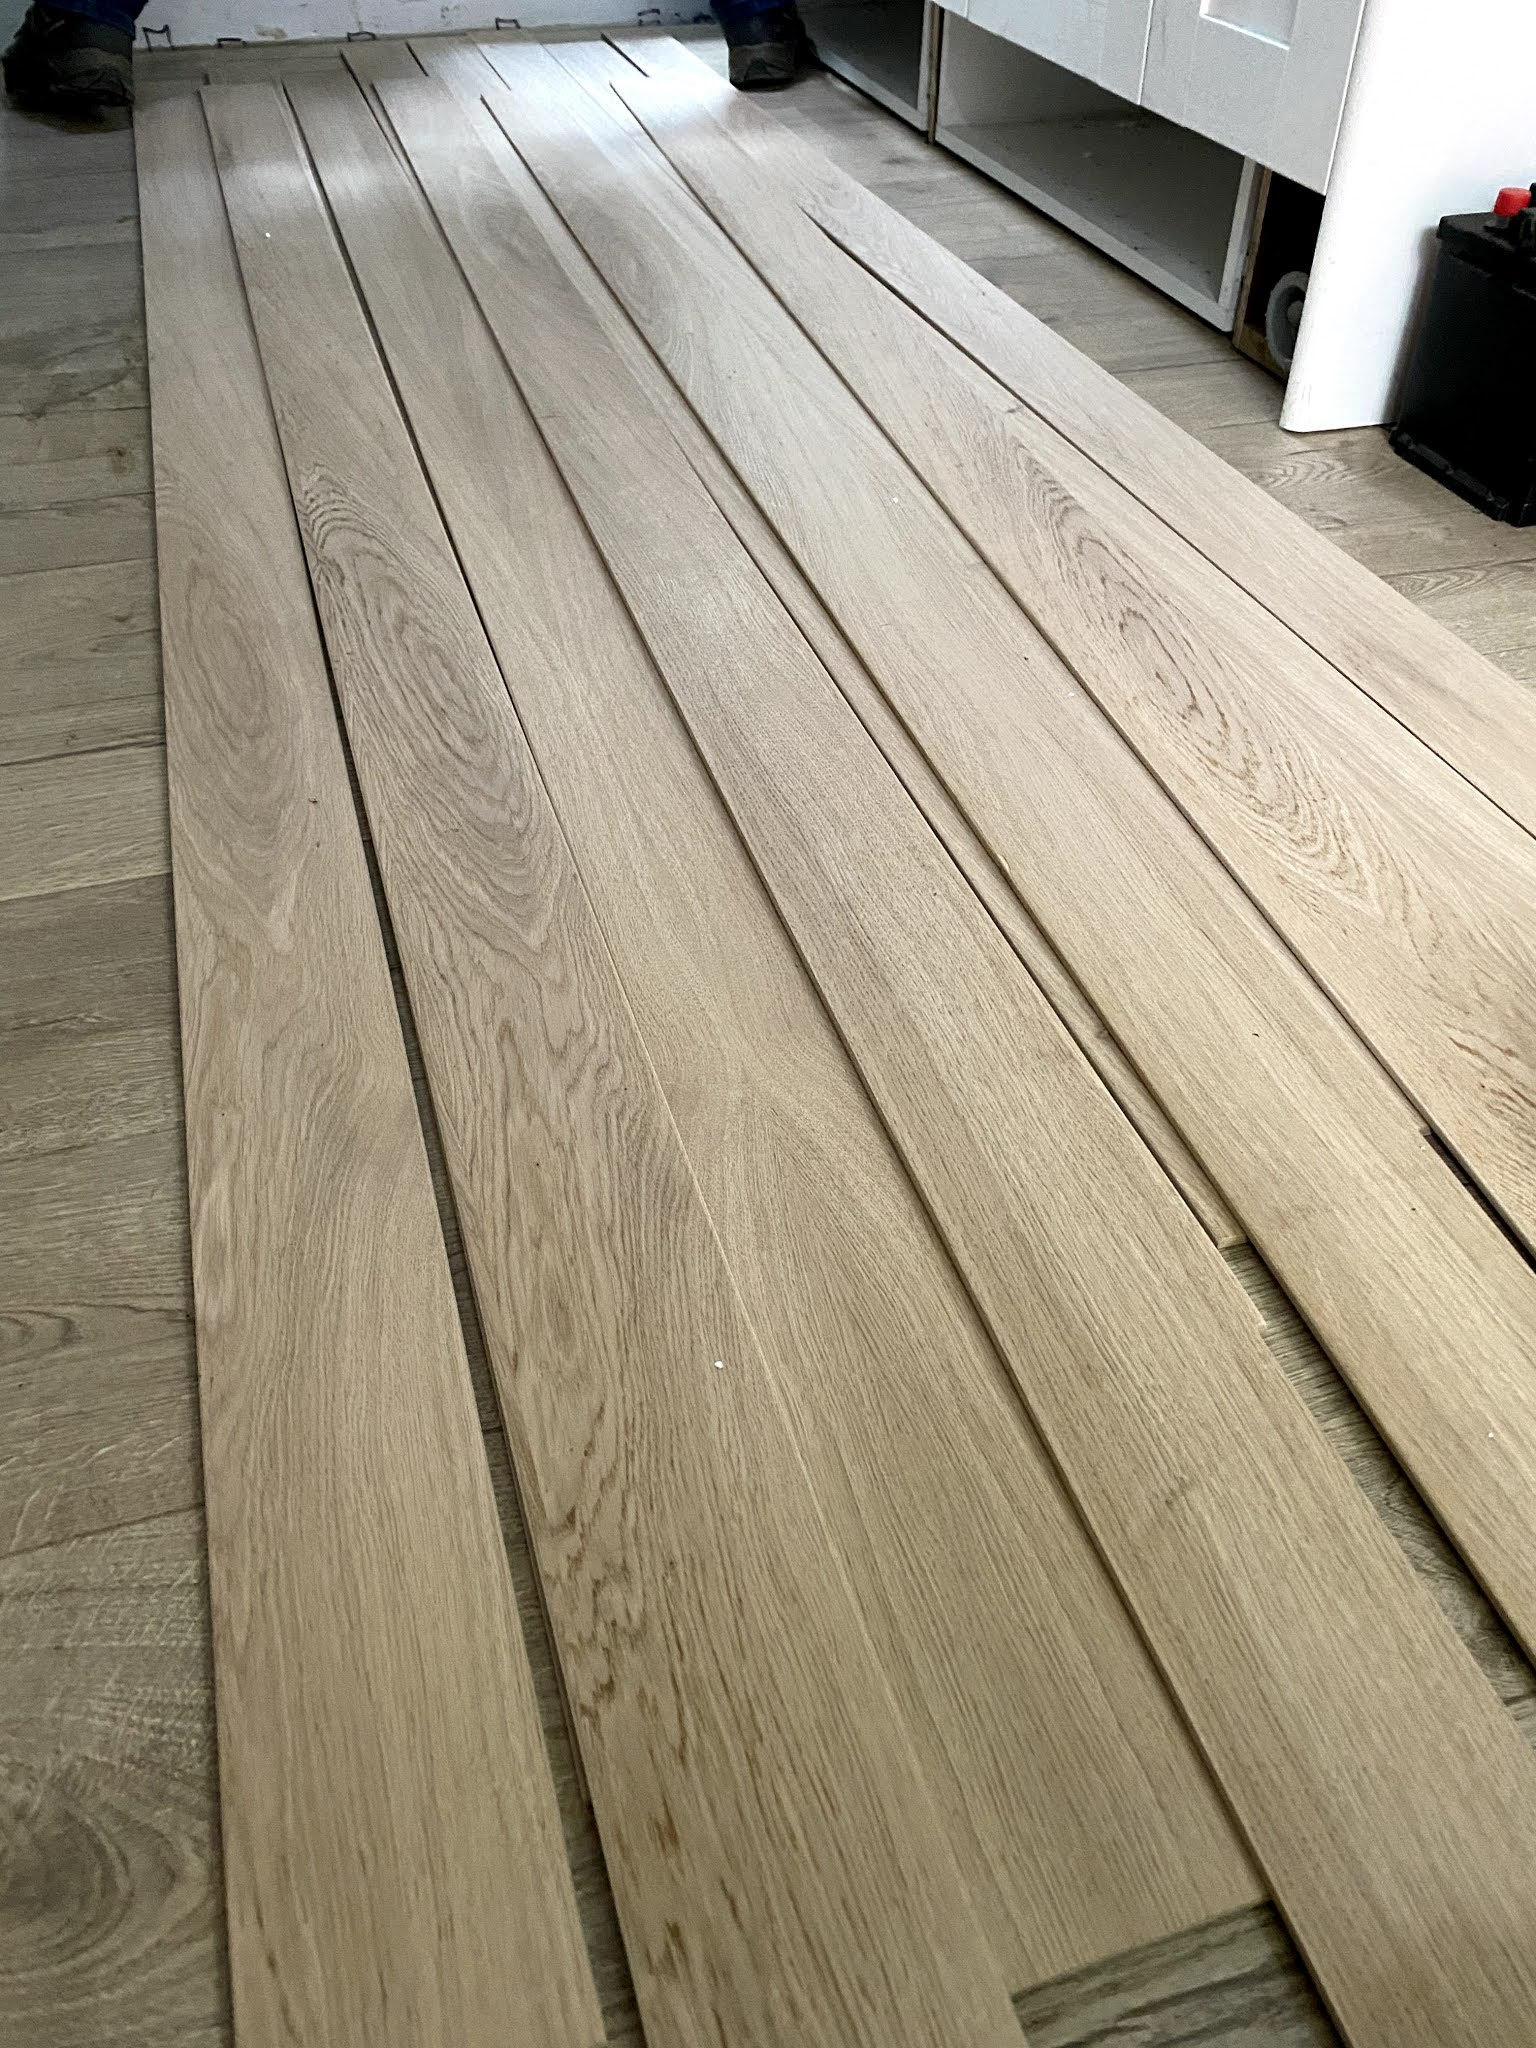
The strips were then bonded to the 5mm Ply with Sikaflex and pinned with panel pins.


We obviously had to cut around the skylight/vent...


Ceiling up!

We then cut holes where the lights will be and fished out the cables we'd carefully hidden prior!

Here's the ceiling with the lights on...

This ceiling is really a defining feature of the van, as it's totally custom, unique and COOL AF!