Welcome

WELCOME


Welcome to the blog for our campervan build

This project began in May 2020 during the 'lockdown' in the UK due to COVID-19. We were supposed to be touring Europe in our existing camper conversion 'Movano The Van Hoe' but this obviously wasn't going to be possible... So after finishing a pretty ambitious Hot Tub Trailer build (see the blog here) we decided we needed another project to keep us occupied during however many weeks left of lockdown.

We put Movano The Van Hoe up for sale and bought a Renault Master which we will convert over the coming weeks/months.

We are fortunate in that Elliot has a fully equipped workshop with tools and space to work, and we're also fortunate in that this is Elliot's second camper conversion, so we're not totally winging it!

This is a blog of the full build and I make no apologies that it is very photo heavy. The primary purpose of the blog is to document this build both for our own records, and for anyone else who's interested.

We plan on touring around Scotland with our Trailer Hot Tub when travel restrictions are relaxed enough to allow this.

Disclaimer: This is NOT meant as a tutorial. Do not try this at home. Always seek professional expert advice.

Thursday 15 October 2020

Fabrication of the folding seating/bed Part #2

So ages ago we fabricated the seating/bed from 25mm x 25mm x 1.5mm square section steel tubing... And then didn't really get around to sending it to the powder coaters.


But today it's been sent off to Pentland Powder Coating to be coated in Anthracite Grey RAL 7016.

Meanwhile, we finish off the tops of the benches. We've painted them black, and are drilling holes to ensure adequate ventilation of the cushions/mattress.


We're also creating opening hatches in the top of each bench, to allow access to the storage space underneath.


The wood tops are fitted with stainless steel hinges to allow them to fold up flush with the wall and out of the way so Master Splores can be used as a regular van...


Aaaaaand the next day the frames are back from the powder coaters and are looking SHINY AF!


We attach the black wooden tops onto our new shiny frames... 


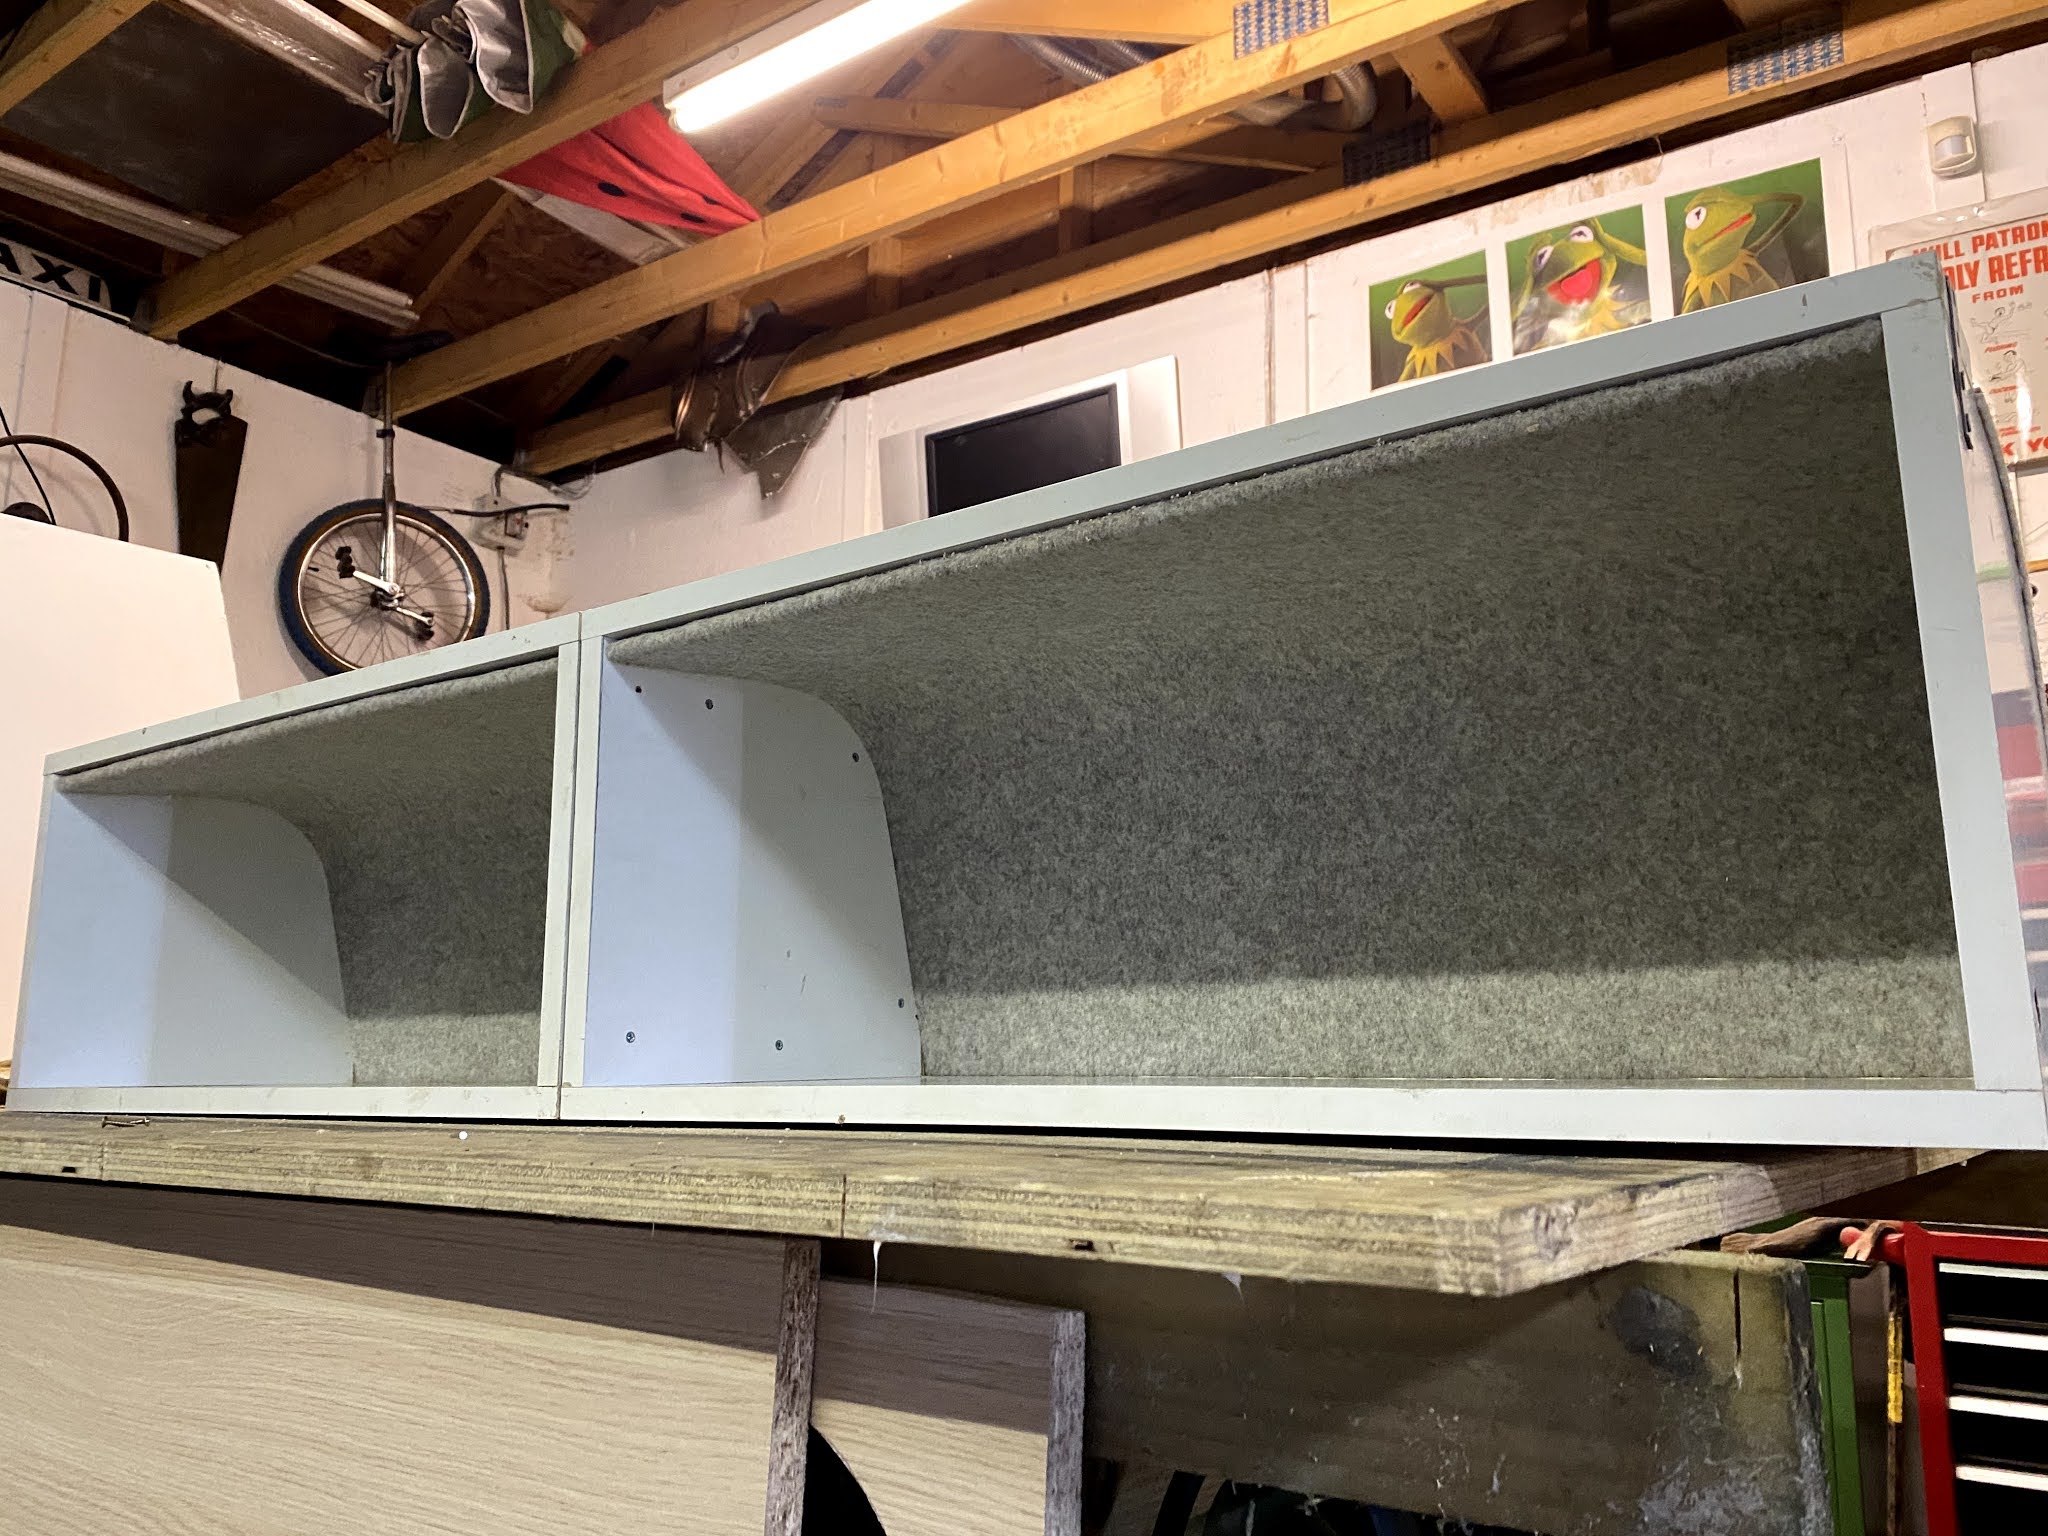
We've already made some furry Veltrim-coated panels for the front face of the seating... 


Time to assemble it all together....


Yessss we have seating!!! 


The table will drop down onto comfy furry little ledges to form the middle part of the bed...

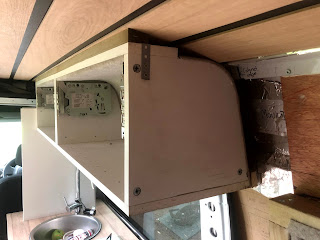
To allow for easy access to the storage underneath the seats, we've cut hinged access panels


Overhead cabinets

Now that the ceiling is up we can build the overhead cabinets and get them installed. 

We started with B&Q 300mm base cabinets, turned on their side, and then templated a curve to match the walls and roof of the van.


The cupboards were then cut to shape, and a section of 3mm aircraft plywood was cut to form the rear curved portion of the cupboards. This was trimmed in Veltrim and glued and pinned into place on the units.


We had already installed additional timber battens behind the ceiling for the cupboards to securely screw into at the top. The back of the cupboard screws into a batten on the wall, and the cupboards are also supported by a section of alloy angle screwed onto the batten. Rock solid!


Auto lifting hinges were installed and the doors ready to fit. The cupboards will have internal automatic lights in them and there will also be lighting on the underside of the units for the kitchen area.


The doors fitted match the base cabinets.


They're finished off by adding chrome 'finger holes' for opening, and adjusting the hinges slightly so the doors do not hit the ceiling.