Welcome

WELCOME


Welcome to the blog for our campervan build

This project began in May 2020 during the 'lockdown' in the UK due to COVID-19. We were supposed to be touring Europe in our existing camper conversion 'Movano The Van Hoe' but this obviously wasn't going to be possible... So after finishing a pretty ambitious Hot Tub Trailer build (see the blog here) we decided we needed another project to keep us occupied during however many weeks left of lockdown.

We put Movano The Van Hoe up for sale and bought a Renault Master which we will convert over the coming weeks/months.

We are fortunate in that Elliot has a fully equipped workshop with tools and space to work, and we're also fortunate in that this is Elliot's second camper conversion, so we're not totally winging it!

This is a blog of the full build and I make no apologies that it is very photo heavy. The primary purpose of the blog is to document this build both for our own records, and for anyone else who's interested.

We plan on touring around Scotland with our Trailer Hot Tub when travel restrictions are relaxed enough to allow this.

Disclaimer: This is NOT meant as a tutorial. Do not try this at home. Always seek professional expert advice.

Thursday, 21 May 2020

Flooring

Today we tackled the floor of the van. We've decided the floor will be laminate, as it is robust, sturdy, light and easy to clean.

The van already came with a floor in situ made of OSB board and we did think about replacing it with thicker wood but it does just fine, and especially since we've opted to floor with laminate which will give it extra rigidity. So we removed the original floor, filled in any random screw holes, and put down 4mm PET bubble insulation for additional coziness, fixed down with spray adhesive. We then used 18x34mm planed timber batons to support the floor, laid on top of the bubble insulation. The original floor was replaced and screwed down to the batons.


In terms of laminate, we've chosen Quick Step Aquanto laminate flooring in an oak colour. This laminate claims to be waterproof when installed using some super expensive Hydrokit silicone and has an abrasion rating of AC4 which means it's suitable for commercial/high traffic areas, so should be durable enough for the van even when in 'van mode' transporting tools and equipment.

We've used standard foam underlay, and have fixed this to the chassis of the van with foil tape to increase it's waterproof-ness should any water get under the laminate.


We also debated whether to lay the laminate lengthways or widthways. Lengthways would give a greater stability so we opted for this, with the joins in a random fashion pretty much just as you'd lay laminate in a house. The joins were sealed with this Hydrokit stuff, and it was also used around the periphery of the entire floor. So should be safe for mopping/wet feet/soggy doggies/spilling wine.


To give a professional sleek finish, the edges at the back and the side door of the van were finished with an aluminium trim which was screwed down.


Monday, 18 May 2020

Water tanks

We've opted for custom made underslung water tanks from Barratt tanks. We will have a 100L fresh water tank and a 45L waste tank. These are more expensive than just standard in-van tanks, but they save so much space inside. A whole other cupboard for snacks.

We plan to still have a small tank inside the van for drinking water, as when we're travelling we can't always guarantee the quality of water we will fill up with.

Heating and water decisions

Another decision is what kind of heating and water heating options to use. The previous van conversion used a Carver air heater and a Carver Cascade 2 water heater.

We considered using a combination air/water heater such as the Truma Combi 4E as it's so slick and modern looking and saves space by being combination. However it is expensive (£1500 installed), uses quite a bit of electricity, and may or may not be noisy (it's impossible to find a video of this thing running!)

We have sort of decided on the Carver 1800 Caravelle 4 heater and the Malaga 5 water heater. The Carver heater is silent in operation, and uses no electricity. We plan on retro-fitting a new more modern controller unit to replace the awful 80's beige plastic one.


Saturday, 16 May 2020

Sound deadening

Today we've focused on sound deadening. We've started by bonding the panels of the van to the chassis with Sikaflex, as some of these had come apart and were rattling.


For actual sound deadening we've used Dodo mat hex sheets. This is A4 sheets of what looks like shiny silver bubble wrap that sticks onto the panels of the van and deadens the sound. Magic.


We also started to install horizontal wood batons (38 x 25mm treated timber) for the ply lining to be screwed to.


We have also put flashing tape over the wheel arches to further deaden the road noise


Friday, 15 May 2020

Wiring

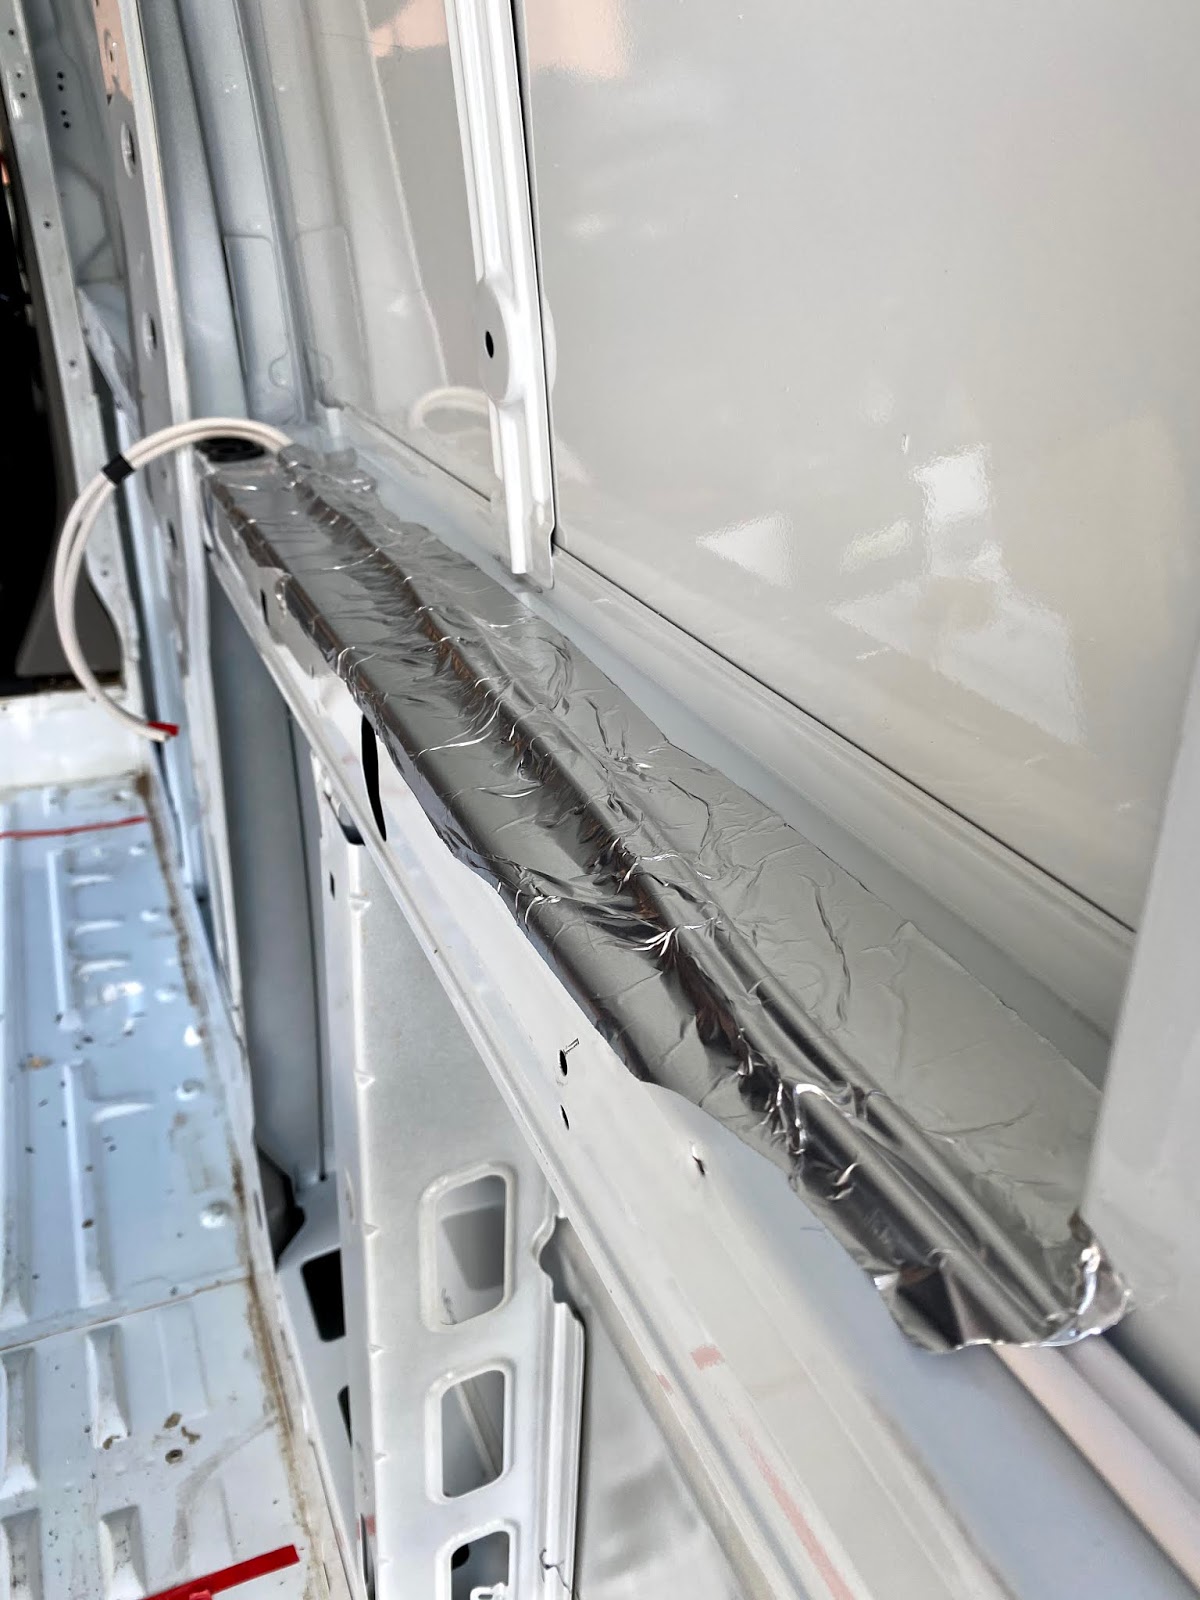
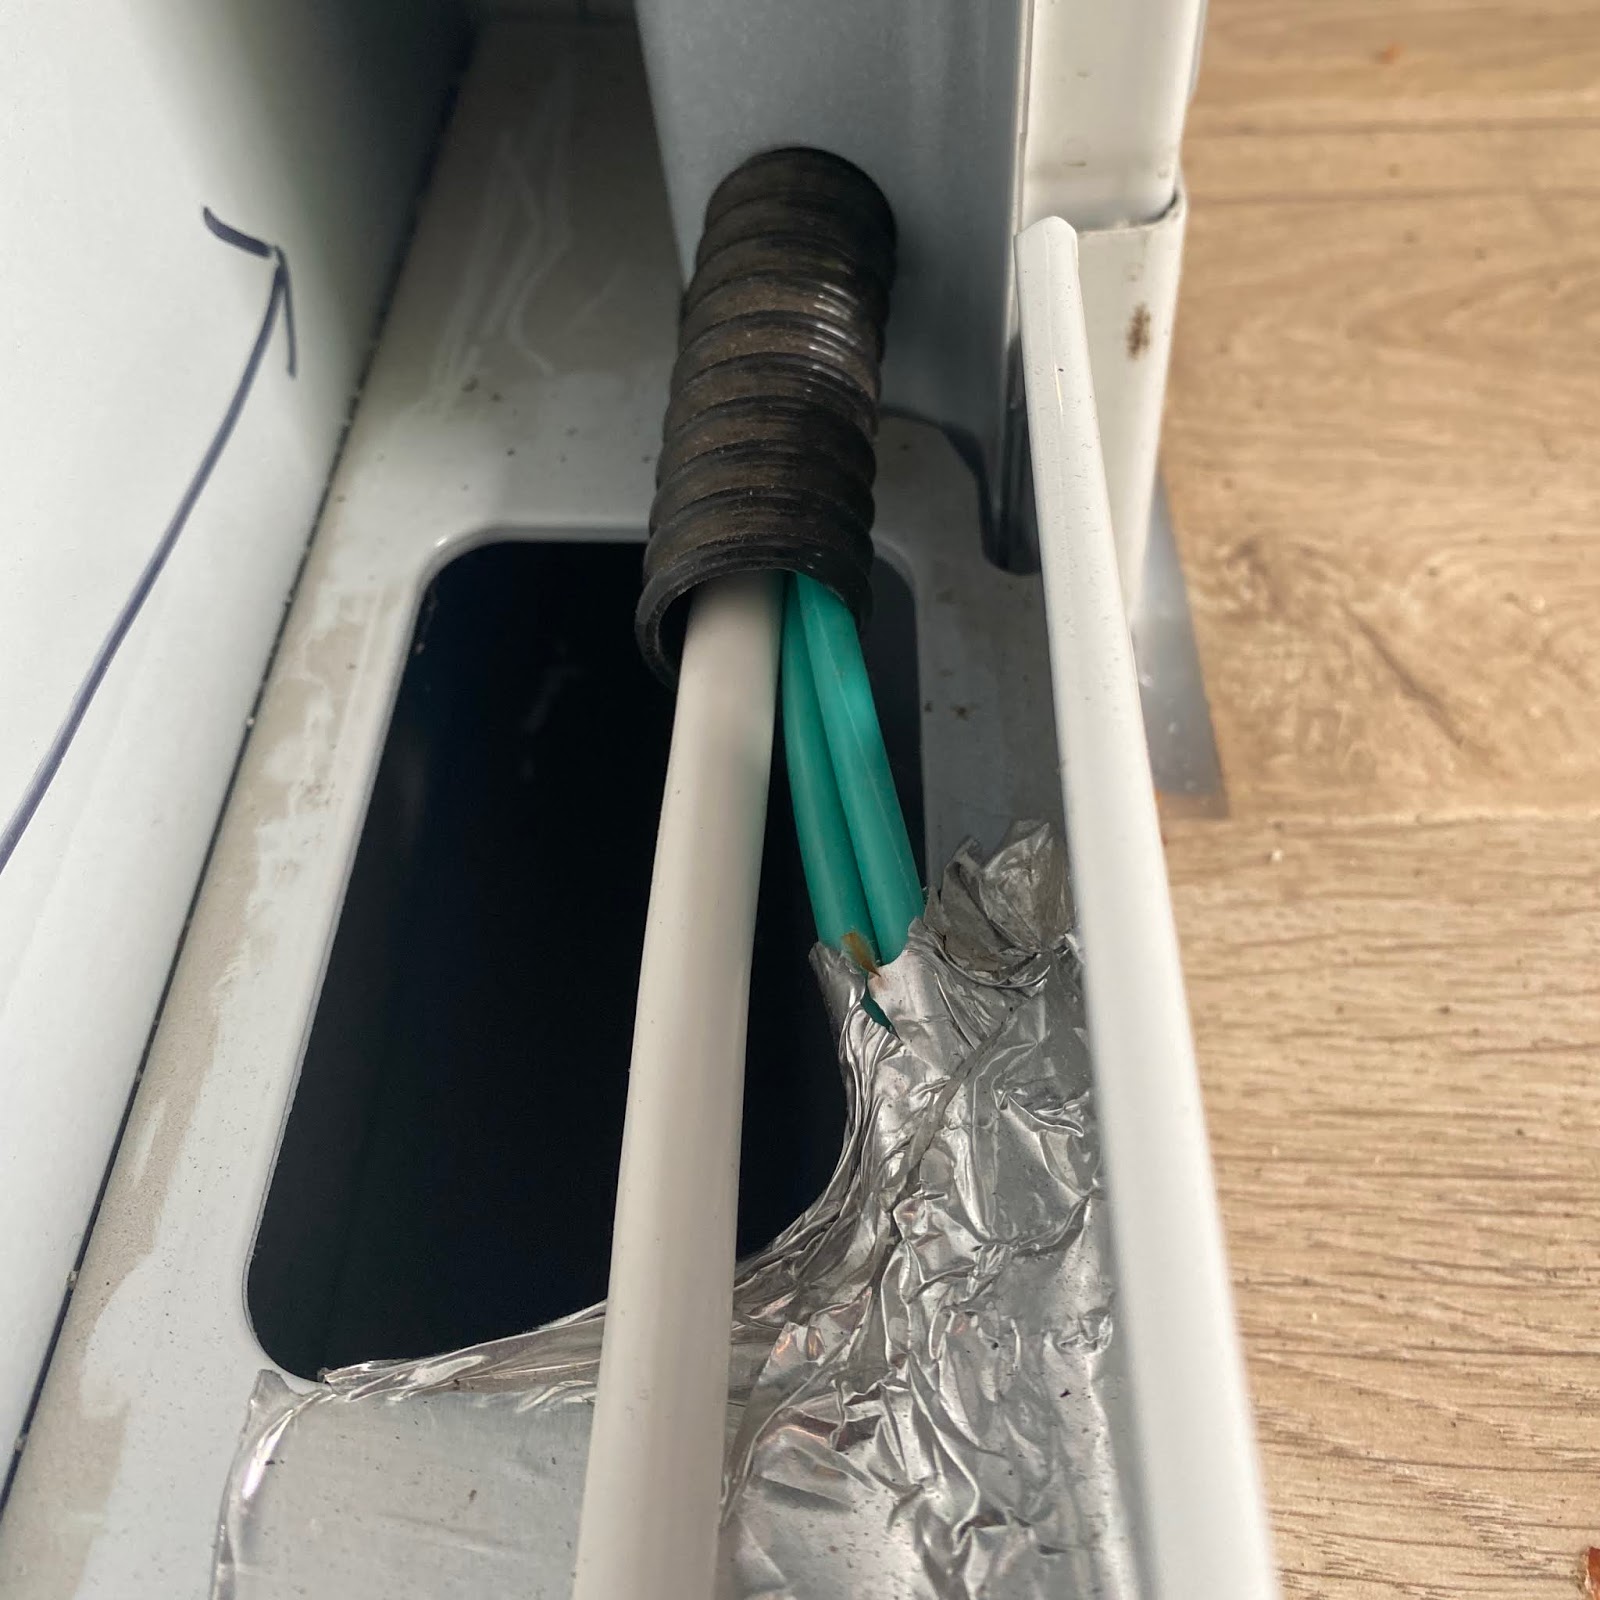
We've worked today on much of the electrics. The wires need to be fed through the chassis of the van prior to insulating the walls, so we spent some time planning where lights, sockets, fuse board, speakers, battery etc would be and made channels in the chassis to thread all the wires through to where they would be needed.


As you can see we've carefully labelled every wire, as this quickly becomes a nightmare of cables going in all directions and you'd have no idea what's what


We've also made a carpeted board to mount the fuse box onto. To make this, a template is made using cardboard, then this is traced onto plywood and cut out with a jigsaw. We're using Veltrim carpet lining in a light grey colour for the internal walls of the van. This is fixed to the cut out piece of plywood using contact adhesive


Thursday, 14 May 2020

The Number Plate

We thought the new van was deserving of a new, personalised numberplate...

We wanted something to do with 'Exploring' or 'Splorin' as we call it. So we trawled the number plate registry...

SP10 ORE
SP11 ORE
EX10 ORE
EX08 ORE
EXP102E

We settled on SP11 ORE thinking it quite obviously says SPLORE.

He will look good with his new shiny plates!!


Wednesday, 13 May 2020

Insulation

I was tasked with measuring all the gaps in the body of the van in order to insert 50mm Celotex GA4050 insulation boards so the van stays nice and cozy for those winter trips. The gaps will be filled with expanding foam to insulate and secure.

There's pros and cons of different types of insulation and there's lots of information out there. We considered using all rockwool, but the Celotex has a better heat efficiency; or polyurethane spray foam, but we'd read some stuff about bad fumes coming from that. So we'll use primarily the Celotex but with some rock wool for the small spaces.

This is a messy job with the dust and fibres from this stuff getting EVERYWHERE. Definitely an outside job!


Update: I sneezed so much this day that I gave myself a mild case of whiplash and couldn't look right for 3 days!


Planning.

I hadn't quite anticipated how much planning goes into a campervan conversion. I reckon we will spend approximately 100x more time on the planning than the actual doing of the conversion.

I'm a fan of my spreadsheets, so naturally I created a colour-coded spreadsheet to try and deal with the budgeting side of things. There's also additional tabs for researching and comparing different fixtures and parts.

Also the physical planning, measuring every dimension of the van, marking out with tape where fixtures will be located, deciding where and how many windows to include. Where will a socket be? Where will the speakers be mounted? What size of TV should we get? Do we need dimmable mood lighting? What will the floor be made of? SO SO MANY QUESTIONS!


Here we've started to mark out where the bed and kitchen units will land, and the height of things.


Here we're planning the 'beside the bed' controls, including the lightswitch (dimmable), a USB and 12V charger, and a wireless charging pocket.


Sunday, 3 May 2020

Meet Master Splores

It's time to meet Master Splores! And begin tearing him apart!

He is a late 2014 (2015 facelift) Renault Master with low mileage and nothing needing done to have him on the road. Inside he was lined and floored (but we're going to take that out...) and in overall good used condition.


The van will often be used with a trailer (and we did need to move something with a trailer this week) so the first thing that was done was to install a tow bar.


Like I said... Tear him apart... First the bulkhead (big bit of metal between the front seats and the back) was removed, along with the trim panels, plywood lining that had been painted white, and the floor.


Now he is a blank canvas! Planning begins...


Monday, 27 April 2020

Van purchasing!

This will be a blog all about the campervan conversion known as "Master 'Splores"

The first task in any camper conversion is the van purchase itself. Cue hours of scouring the internet, making a pros and cons list of types of vans, models, years etc. We eventually whittled it down to three potential models: a Vauxhall Movano, Renault Master or Nissan NV400. The next task was to scour the internet for adverts for these models for sale... And make a big spreadsheet of the attributes for each van, including things like cost, mileage, year and extras.


We went to see a few vans locally, just to make a judgement in person on the van models.

We actually ended up buying a van locally, and with a bit of haggling and a lot of the bank thinking we were committing fraud with our bank transfer, we'd purchased the new van!

Of course the most important aspect of a campervan conversion is the naming of the van. Our previous van was nicknamed Movano the Van Hoe but we wanted something more complimentary. We decided the van was to be a boy, and with it being a Renault Master, his title had to be 'Master'. Since he would be used mostly for exploring, or 'splorin', we thought this should be part of it too. Splore Master? Master Splores? Master Splore? Obviously the MOST DIFFICULT decision.

It was decided he would be named 'Master Splores'. And so the build can begin!