Next we worked on creating the furry cubby holes...
We used 12mm plywood , templated around the contours of the van, to create arm-sized cubby holes to access the storage spaces that we'll use to store our clothes.
Go go gadget arms....
Holes were cut to accommodate the door hinge and to allow access to the rear lights for changing bulbs...
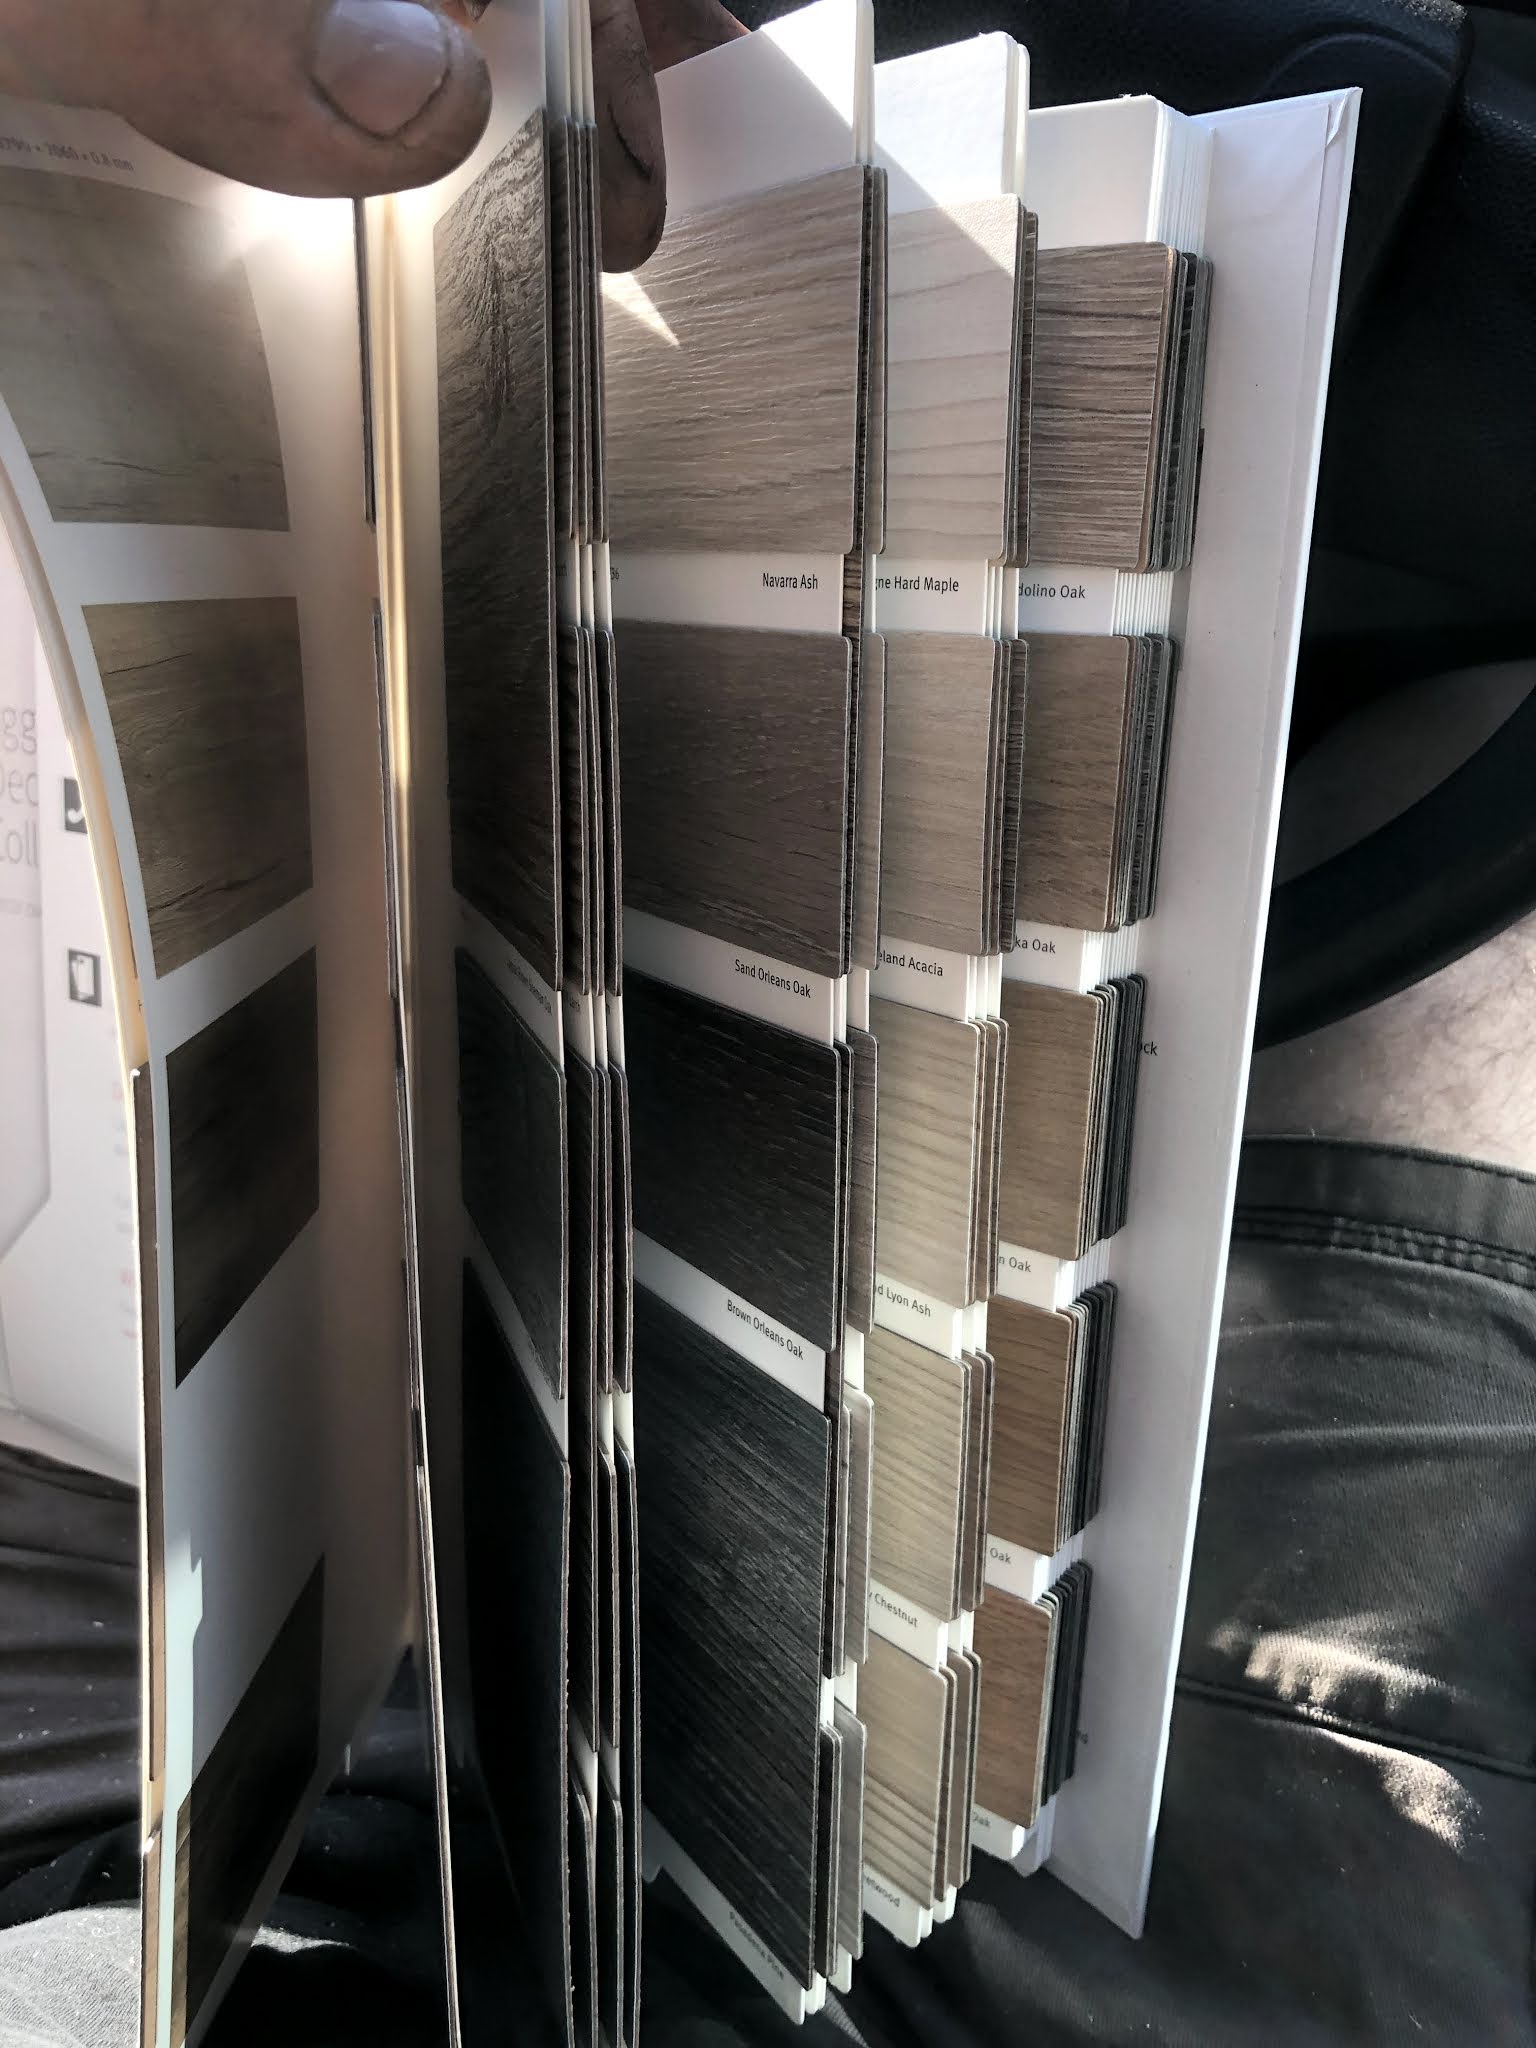
A template for the upper portion of the 'wall' was also made (we still need to choose the type of material for this... see later post!) Shaped to fit the tapered contour of the top of the van. The white area you can still see will be carpeted.

For one side, we created some little furry compartments that will sit behind a raised edge, for storage of toiletries, portable speaker etc...
We've used a section of matching kitchen worktop to create a shelf on either side. Embedded into these shelves are wireless phone chargers, so you can simply sit your phone on the shelf to charge.
Charger stripped and the useful bit removed...
The hole was cut by router, set up on an offcut of worktop to leave approx 1mm of wood/laminate on the surface above the charger. The wireless charger was then bonded in using some hot melt glue. Power is supplied by a 12v to 5v usb converter which plugs into the charger.
Wooo we have walls and shelves!
Next the walls were upholstered in Veltrim, to make FURRY HOLES!
High temp spray adhesive applied to both sides...
Carpet then trimmed with a sharp Stanley blade and the process repeated on the front face carpeted too.
The edges of the furry cubbies were routered and knock-in edge trim was fitted for a professional finish.