Welcome

WELCOME


Welcome to the blog for our campervan build

This project began in May 2020 during the 'lockdown' in the UK due to COVID-19. We were supposed to be touring Europe in our existing camper conversion 'Movano The Van Hoe' but this obviously wasn't going to be possible... So after finishing a pretty ambitious Hot Tub Trailer build (see the blog here) we decided we needed another project to keep us occupied during however many weeks left of lockdown.

We put Movano The Van Hoe up for sale and bought a Renault Master which we will convert over the coming weeks/months.

We are fortunate in that Elliot has a fully equipped workshop with tools and space to work, and we're also fortunate in that this is Elliot's second camper conversion, so we're not totally winging it!

This is a blog of the full build and I make no apologies that it is very photo heavy. The primary purpose of the blog is to document this build both for our own records, and for anyone else who's interested.

We plan on touring around Scotland with our Trailer Hot Tub when travel restrictions are relaxed enough to allow this.

Disclaimer: This is NOT meant as a tutorial. Do not try this at home. Always seek professional expert advice.

Thursday, 20 August 2020

Fabrication of the folding seating/bed

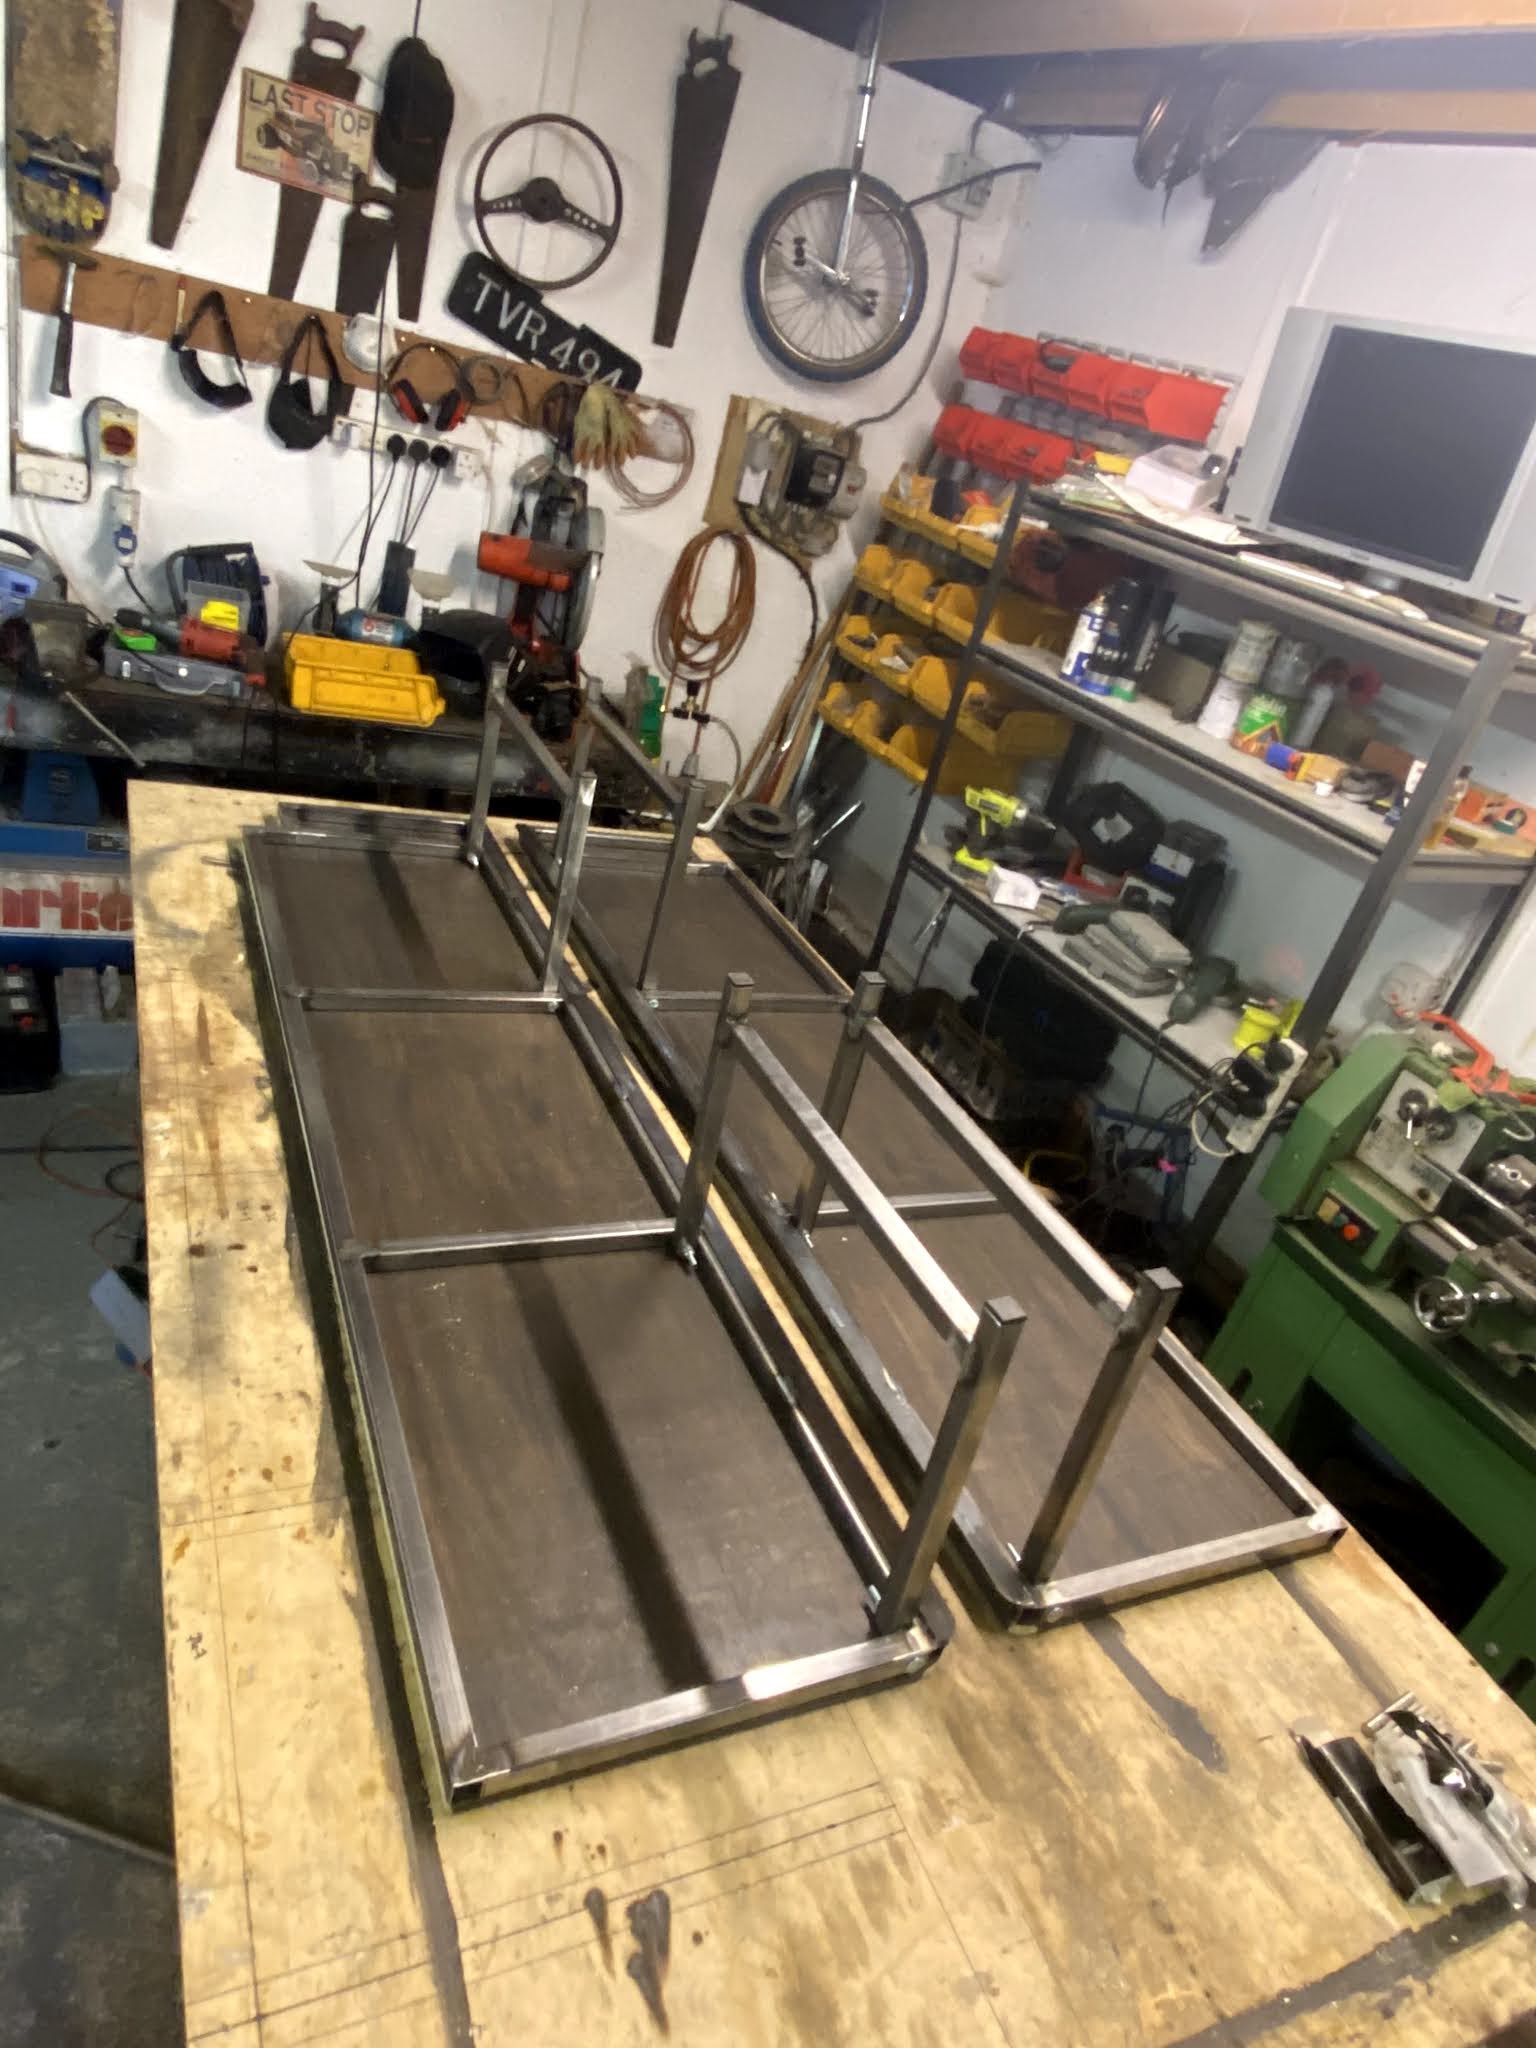
Fabrication of the benches/bed.... This is being done in the same was as the previous van build. They will fold up neatly into the walls and out of the way so that the whole back of the van can be used as a van to move stuff when required.

The bed is made from 25mm x 25mm x 1.5mm square section steel tubing.


Due to the benches being mounted at the same height as the rear door hinges we've had to create a wee step in the frame to allow clearance of the hinge.


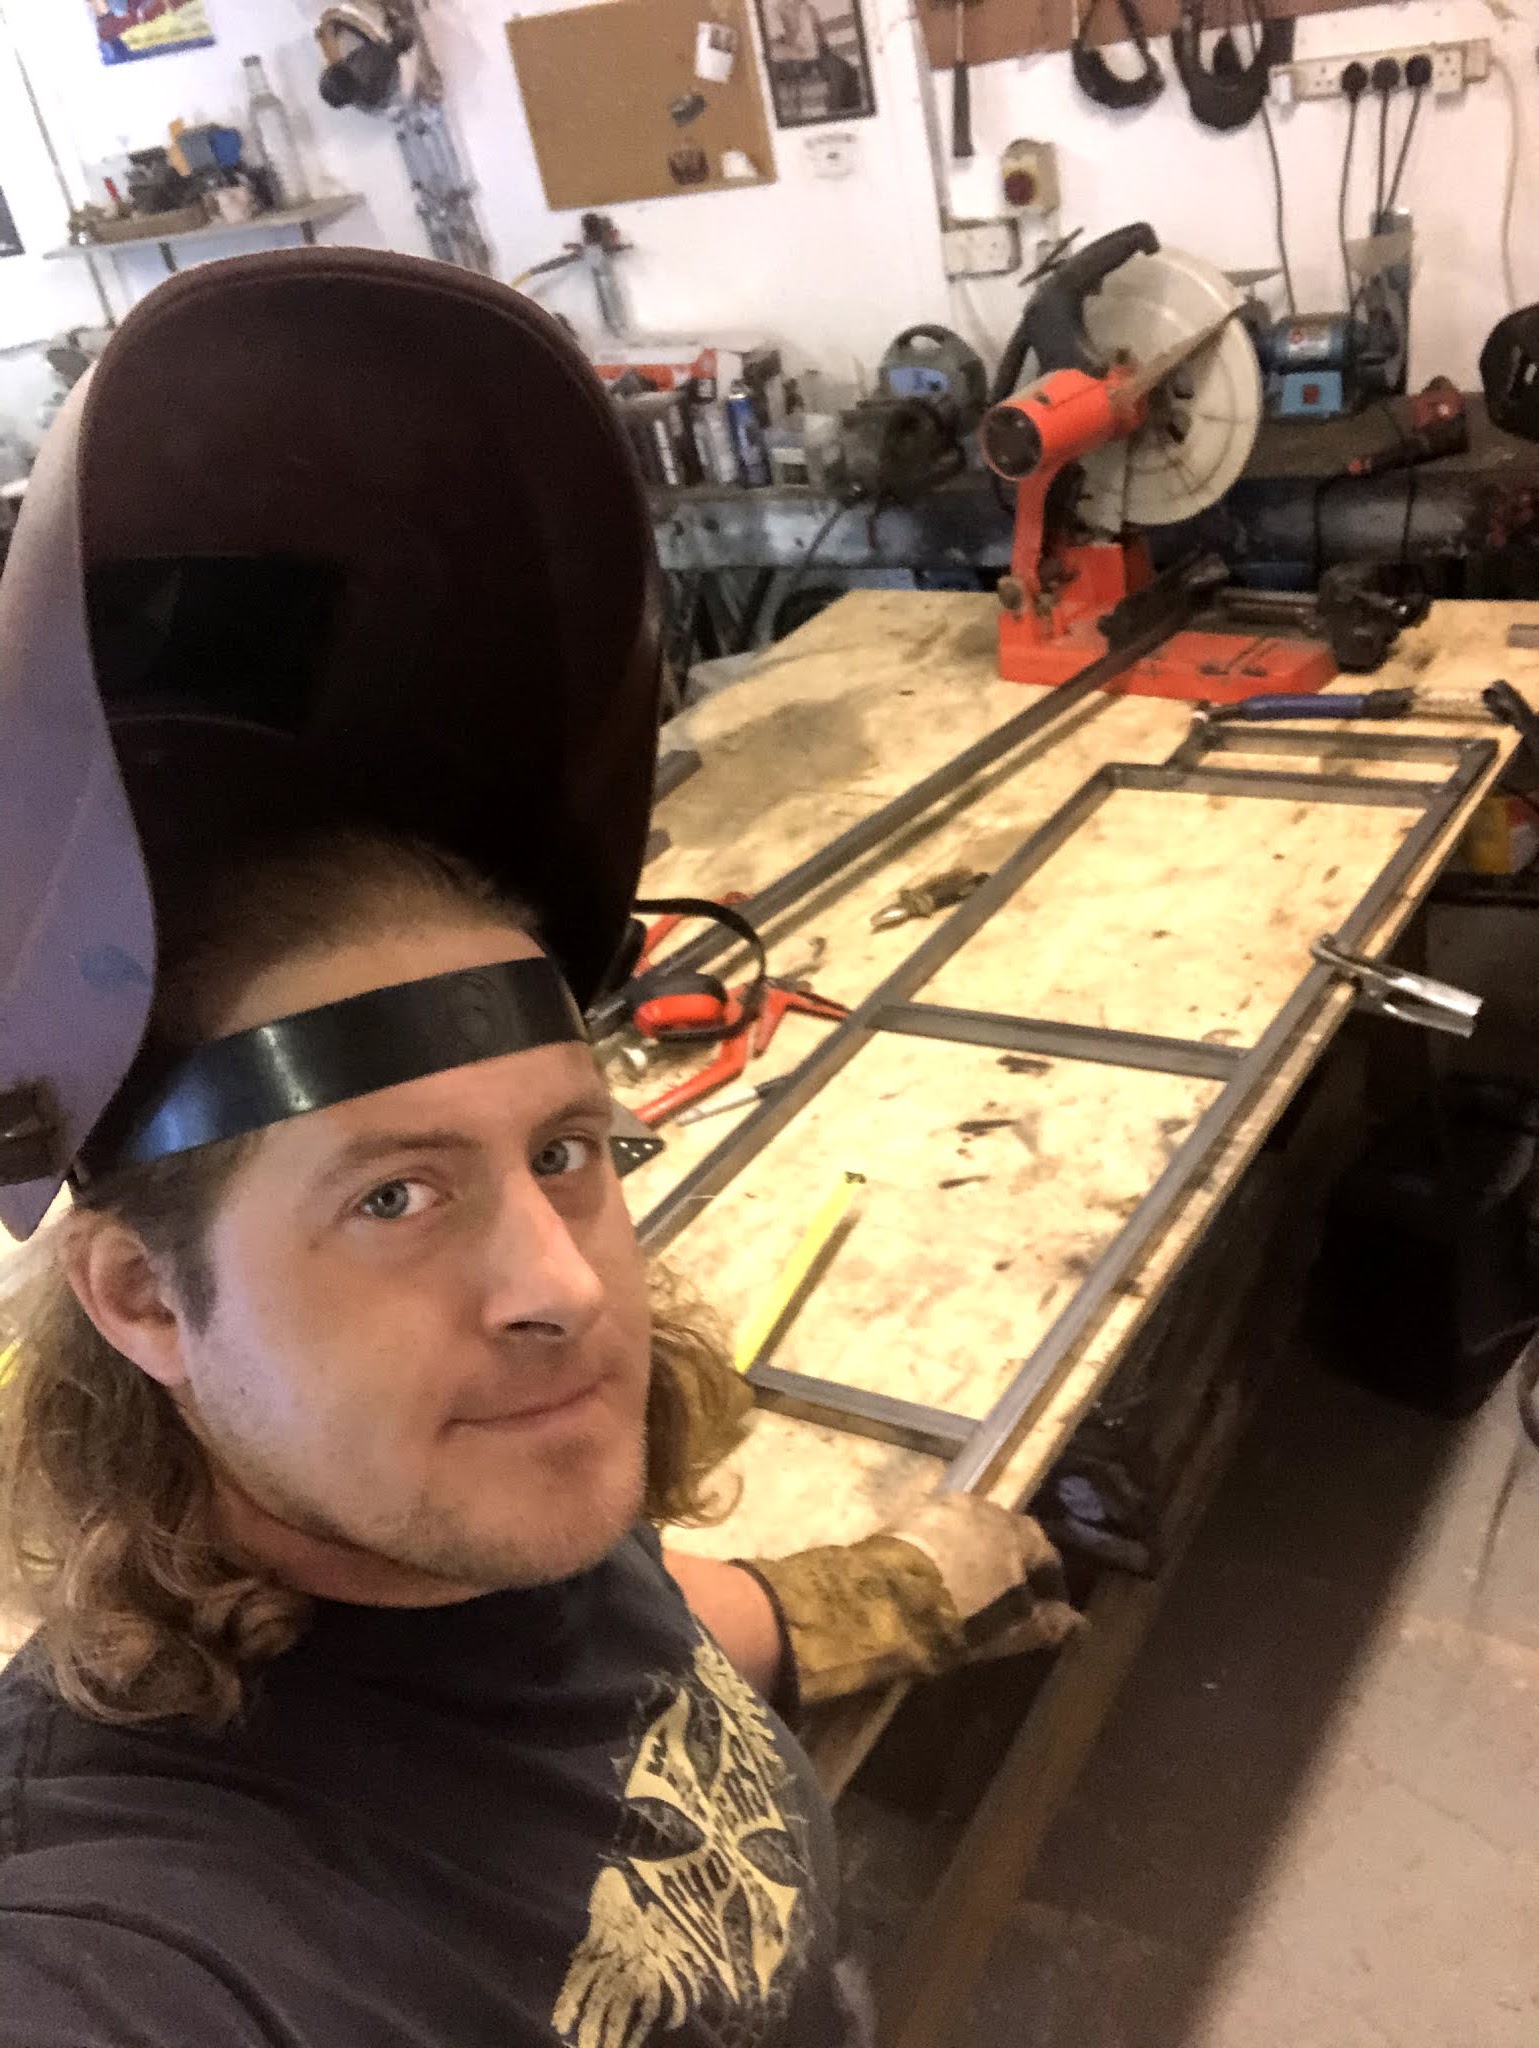
Everything measured and cut ready to TIG weld together.


Two matching frames and folding feet made up.


A piece of 12mm plywood was then painted to create the tops of the benches and cut and screwed to the frame with self drilling screws.


Legs were bolted on with nylon spacer washers so theres no rattles and the powder coat finish doesn't get scratched once they're coated. The ends have plastic insets fitted.


A small lip was then added to the front edge of the seat which will allow the tables to drop in and sit on when they are folded out to form the bed base.


Seat bases are test mounted. All good. The front face of the legs will also get a carpeted sheet of thin plywood once they have been powder coated.


Everything's off to the powder coaters now... To be continued... 


Tuesday, 18 August 2020

Furry holes...

Next we worked on creating the furry cubby holes...

We used 12mm plywood , templated around the contours of the van, to create arm-sized cubby holes to access the storage spaces that we'll use to store our clothes.

Go go gadget arms....


Holes were cut to accommodate the door hinge and to allow access to the rear lights for changing bulbs...


A template for the upper portion of the 'wall' was also made (we still need to choose the type of material for this... see later post!) Shaped to fit the tapered contour of the top of the van. The white area you can still see will be carpeted.


For one side, we created some little furry compartments that will sit behind a raised edge, for storage of toiletries, portable speaker etc...


We've used a section of matching kitchen worktop to create a shelf on either side. Embedded into these shelves are wireless phone chargers, so you can simply sit your phone on the shelf to charge.

Charger stripped and the useful bit removed...


The hole was cut by router, set up on an offcut of worktop to leave approx 1mm of wood/laminate on the surface above the charger. The wireless charger was then bonded in using some hot melt glue. Power is supplied by a 12v to 5v usb converter which plugs into the charger.


Wooo we have walls and shelves!


Next the walls were upholstered in Veltrim, to make FURRY HOLES!
High temp spray adhesive applied to both sides...


Carpet then trimmed with a sharp Stanley blade and the process repeated on the front face carpeted too.


The edges of the furry cubbies were routered and knock-in edge trim was fitted for a professional finish.




Monday, 17 August 2020

Water tank

We had a custom underslung water tank made for the van by Barratt Tanks. It sits neatly tucked up to the chassis rails in front of the rear axle and is no lower than the exhaust or fuel tank. It holds approx 100L of fresh water, and 45L of waste grey water. We also had a CBE water level sender fitted so we can keep an eye on water levels from inside the van.


You can see here how the brackets attach and clamp the tank. A strip of thin foam was added between the tank and chassis to stop any chaffing or vibration.


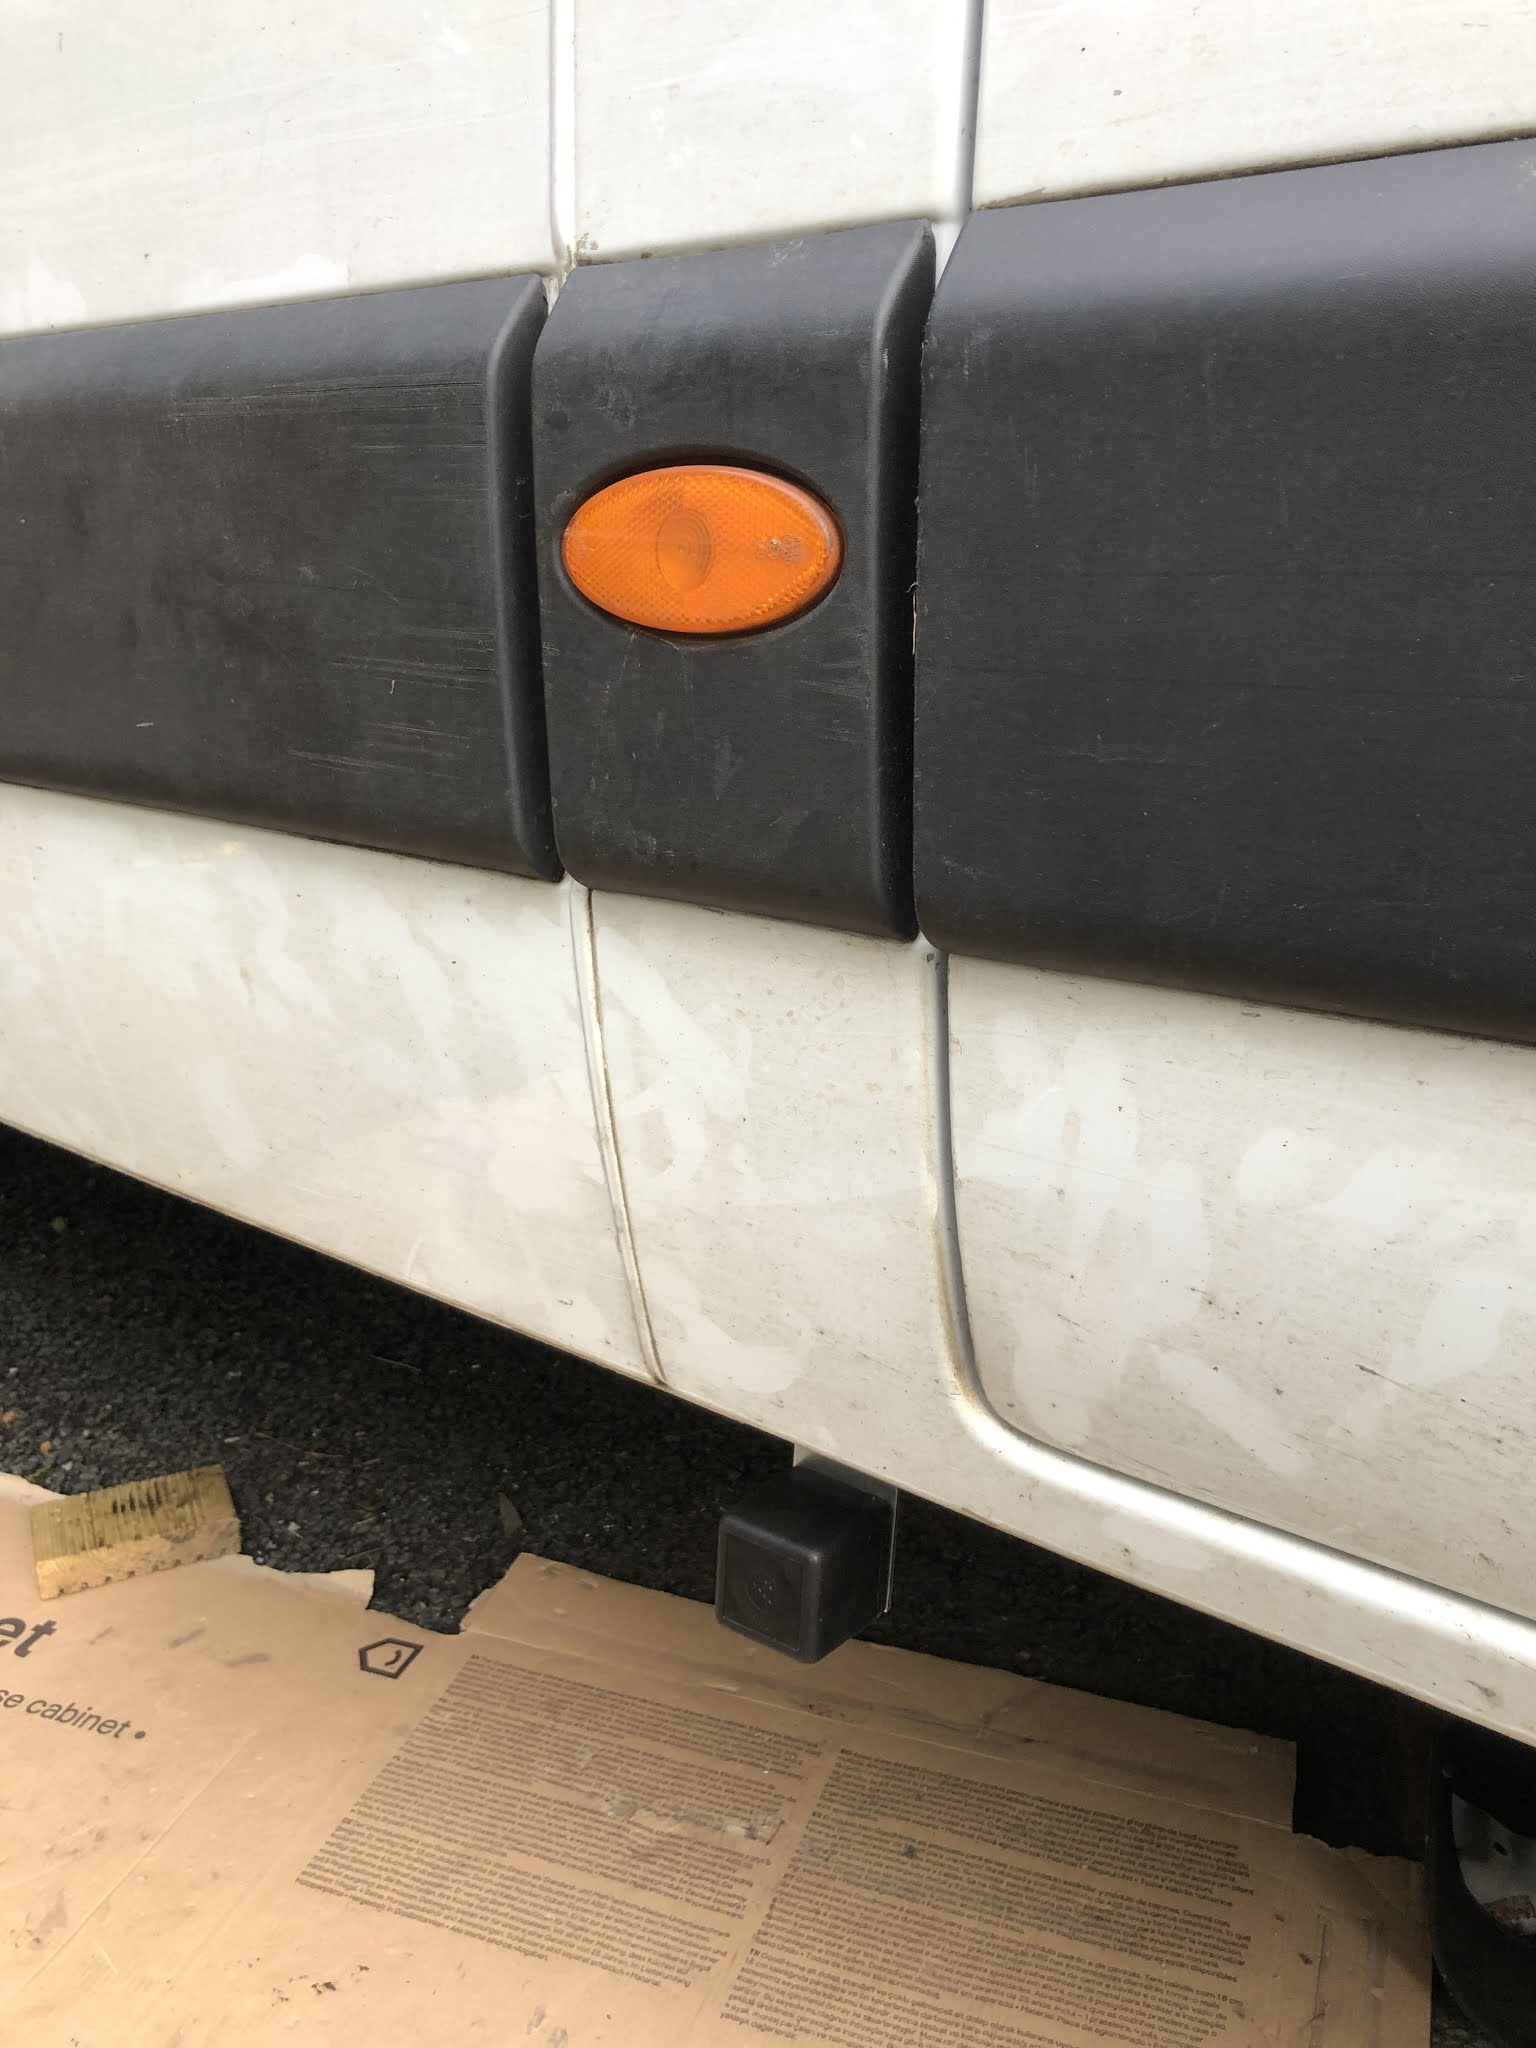
It is filled via a standard hoselock connector, and the waste is drained via the other tap. These were mounted tucked up high on the sill and the waste tap was cut down to aid with ground clearance as we often take the van up rough dirt tracks. Pipes were then insulated and secured.


The breather was also extended and fitted with a wee stainless filter  to stop anything crawling in. 


Also did a bit of wiring and plumbing on our secondary 10L internal fresh water system. It consists of a 12v microswitched tap connected to a Whale submersible water pump that sits in a small water carrier. ideal for a quick night away in the winter when the main system is drained down for frost, or can be used with bottled water when we have filled the the main tank from a tap we cannot guarantee is quality drinking water.


Friday, 3 July 2020

The kitchen looks like a kitchen!

After installing the gas and water supply, and the waste pipe, we could fit the kitchen permanently. We made a raised base unit to accommodate heater ducting, plumbing and two custom made drawers so there is no wasted space under the units. 


The units were glued and screwed together and secured to the floor and walls of the van. We've fitted our cupboard hinges and doors (B&Q GoodHome Alpinia Shaker Style in Matt Ivory), and worktop (Ikea Ekbacken in Light Oak). 


We've cut holes to accommodate our appliances, and sealed all the cut edges of the worktop with gloss varnish to waterproof.


We've installed the sink (Smev 928 round sink), tap (chrome with pull-out hose from eBay), drinking water tap (Comet London microswitched tap), and hob (NJ Domino-G LPG 2-burner hob in white glass)

The reason for the two taps is so that we have a dedicated drinking water tap supplied from a 15l plastic water carrier under the sink. This means if we are filling up the 100l underslung tank from a water source we are not 100% about the quality we can still have separate clean drinking water. It also means we can easily ask to fill up the small container from any pub/restaurant tap.

Another reason for the separate water system is that when we use the van in the winter and it's too cold for the underslung tanks and the water system is drained and winterised, we can still use the drinking water tap.


The worktop is fixed to the cupboards with lots of 90 degree brackets.

WOOOOO it looks like a kitchen!! 

The gas was connected up to the hob and leak-checked... It works!


Thursday, 2 July 2020

Heater Installation

So after much deliberation we decided that the best water heater/room heater combo would be the Truma Combi 4e. Its by far the most efficient and modern heater on the market and can be controlled via your phone using "i-net" to warm up the van before you get back from a walk or the pub. 

The heater will be installed in the bottom of our utility cupboard. 


A bit of planning and prep was required prior to final installation. Holes for the rear of the heater and ducting outlets were cut in the cupboard along with a gas drop vent in the floor.


The heater has 4 hot air outlets, of which we will use 3 with one blanked off using Trumas blanking kit.
The 2 outlets on the left will supply hot air to the front cab area of the van, and to the area just in front of the kitchen units. The other air outlet runs along under the units and behind the drawers and exits in the middle of the van at floor level. 

To make the heater run as quietly as possible we used a section of acoustic felt ducting from MV heating in each of the air outlets. This should make a big difference to any noise being transmitted from the heater to the blown air outlets.


The flexible alloy ducting is joined to the acoustic ducting using a section of stainless tube internally and is clamped by a stainless band mounted to a bracket on the floor.


Wednesday, 1 July 2020

Gas Installation

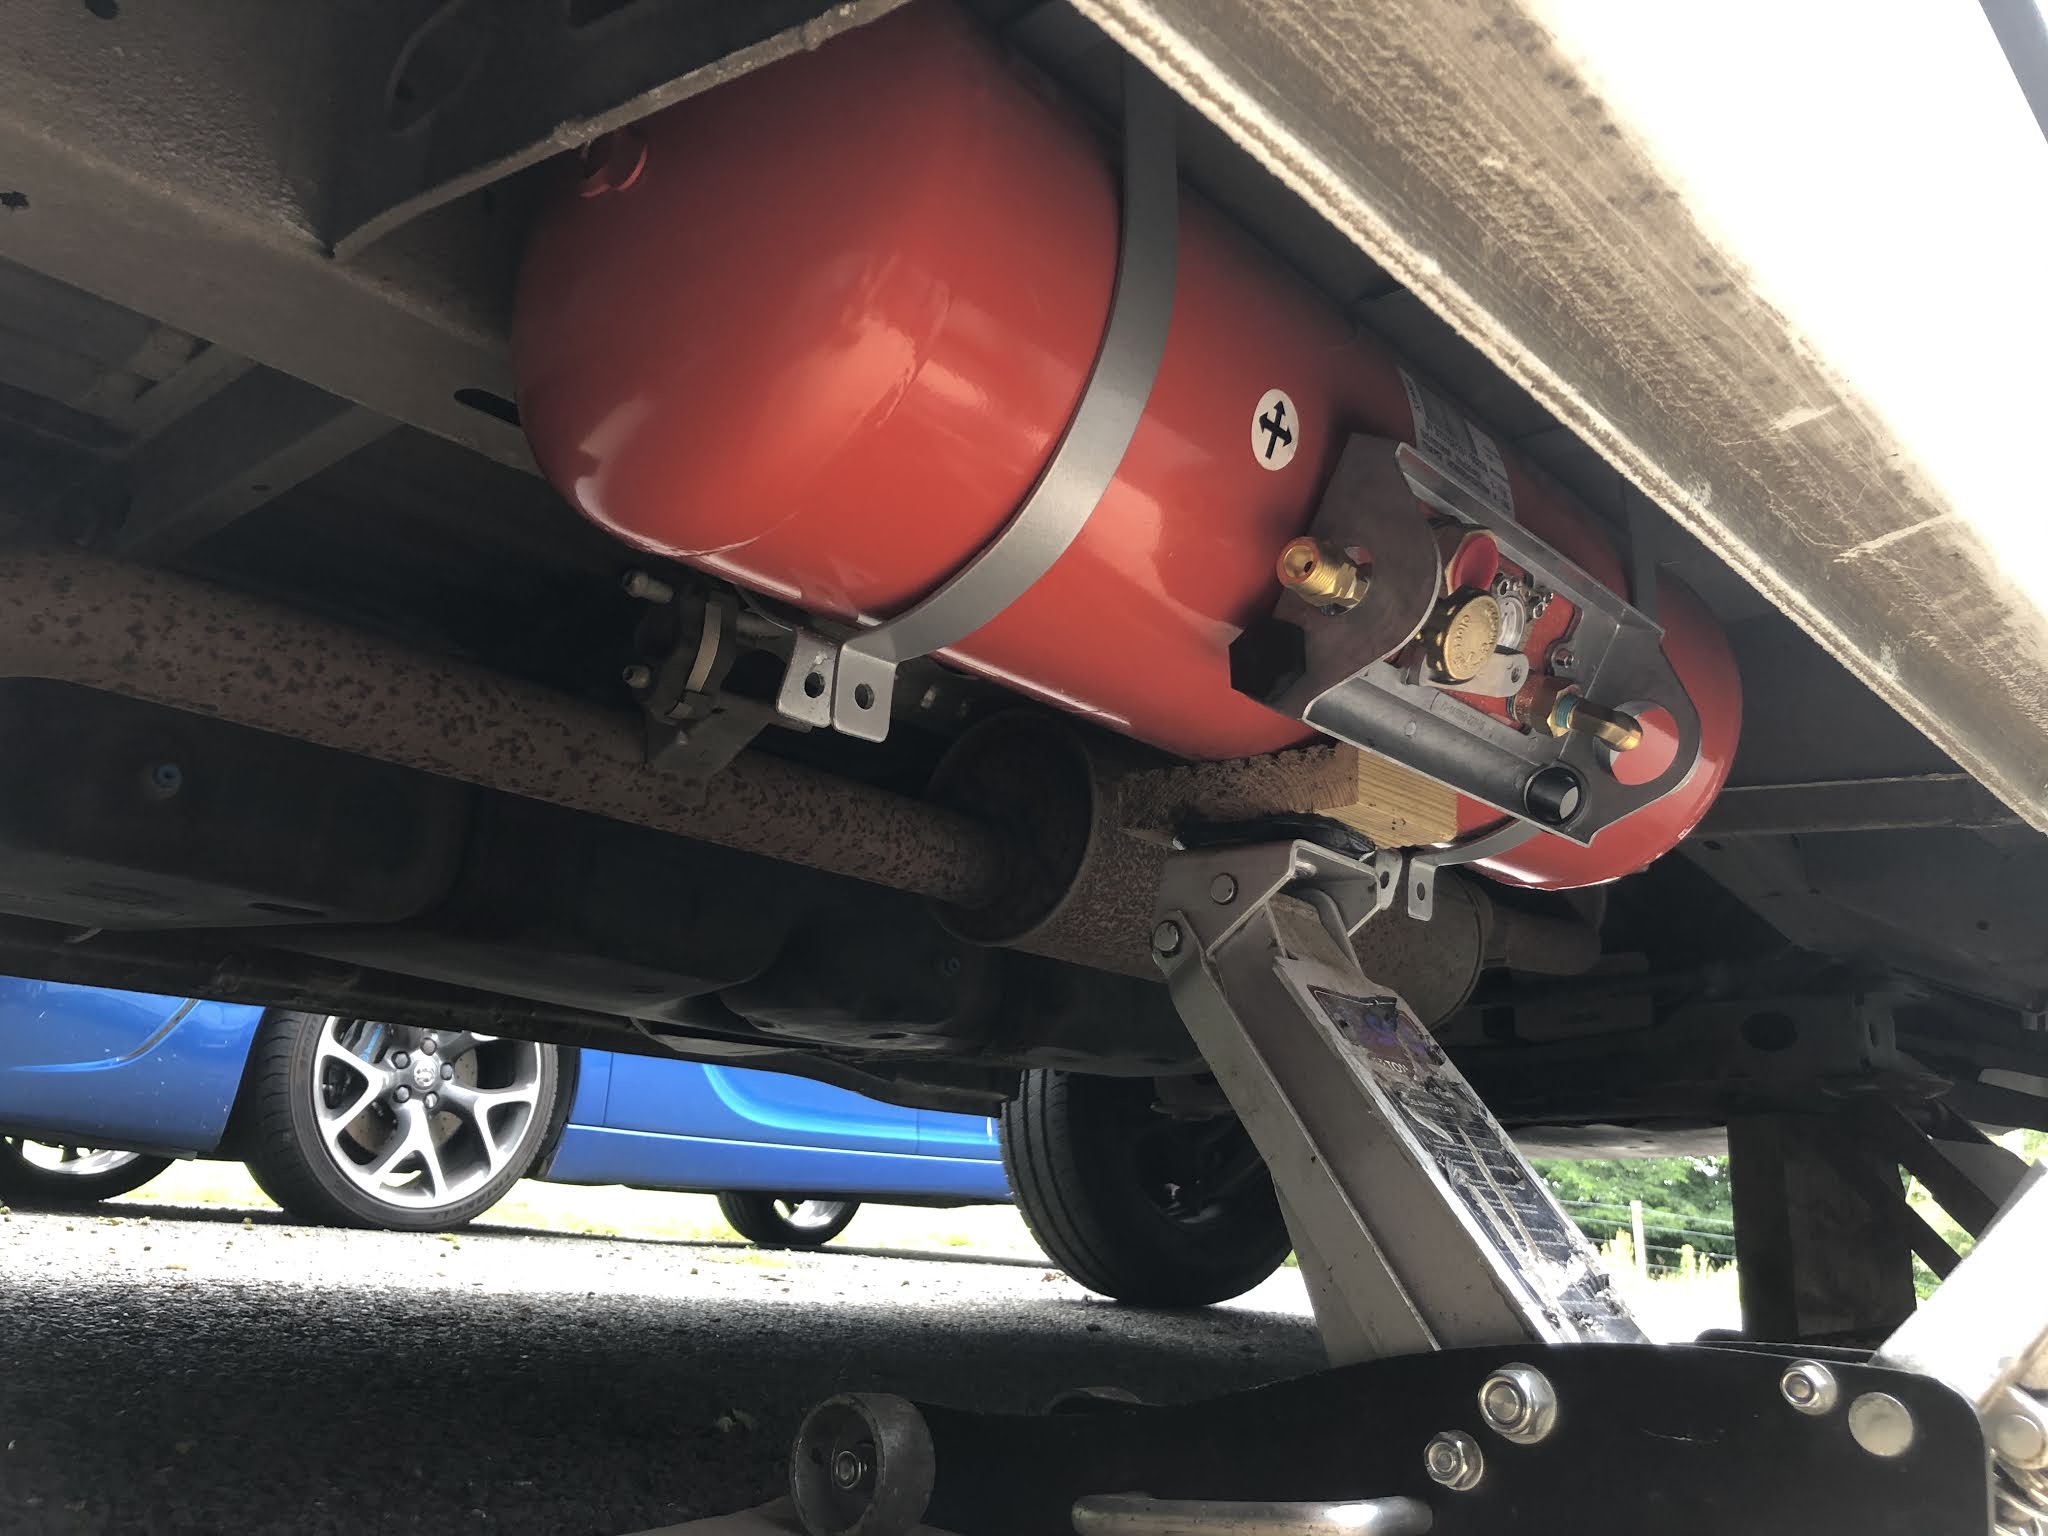
The gas system has arrived from LPGshop.co.uk! We've got a 30 litre gas tank that will fit under the van between the main chassis rail and the sill. We've opted for an underslung gas tank as it frees up more storage space within the van and is easy to top up, so running out of gas is less likely! We will also have a Livello LPG gauge mounted to our control panel so we can easily see the remaining level from inside the van.


The tank is jacked up into place and holes for the mounting straps marked and drilled through the van floor. These bolts will still be accessible from inside the van by removing the drawer should we ever have to renew these fixing straps in the future.


The Angle of the tank is very important so that the 80% cutoff works and that no liquid LPG can exit the tank into the regulator. Once the angle of the tank is set using a gauge, the rubber straps are fitted to the steel mounts and the tank is secured.


The filling point is mounted just under the pillar on the driver's side.  We decided to reinforce the bracket by welding another tab onto it, the bracket is then sealed and riveted onto the inner sill and outrigger.


The 2 stage regulator is mounted to the underside of the van floor as high as possible with the test port easily accessible. Holes are drilled and grommets inserted and the pipes made up to connect the regulator to the tank.  Pipe is made up to connect the fill point to the tank also.  All gas pipework under the van is done in 8mm rubber coated copper pipe.


Inside the van the gas comes into a 2 way manifold mounted in our utility cupboard which will house the Truma Combi 4e heater, bin, cleaning stuff and tools etc.

The screw holes in the manifold wouldn't give it much support drilled into the chipboard cupboard so these holes were tapped and threaded to take an m5 bolt to securely clamp it to the cupboard.